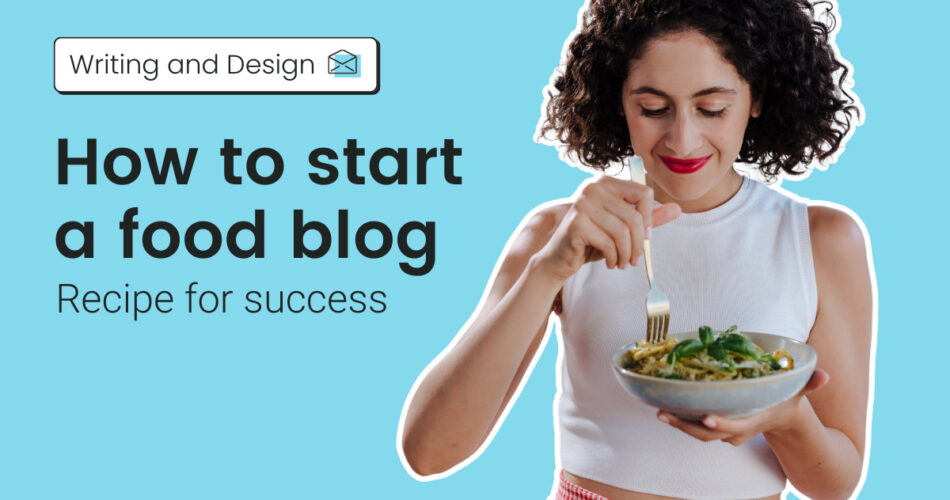

Launching a food blog can be an advantageous creative outlet. It is a place to share your culinary explorations and establish a connection with an audience that shares your appreciation for the niche.
This guide will explore the essential steps on how to start a food blog. We’ll also share some food blog tips for running your own blog to publish recipes, restaurant reviews, or cooking methods.
Whether you’re a kitchen novice, foodie, or seasoned chef, this tutorial will help you start your own food blog and ensure that your blog exists to inform and engage readers.
How to Start a Food Blog
Let’s explore the six steps for how to start a food blog.
1. Establish Your Food Blog Niche
One of the foundational aspects of starting a blog is determining your niche. Food blog niche selection is crucial because it defines your identity, attracts the right audience, and sets you apart from the competition.
Whether you’re building a recipe blog, writing cooking tips, or becoming a food critic, choosing a niche based on your passion and expertise is essential.
The right niche helps you create content that genuinely resonates with you and the audience, making your blogging journey more enjoyable and sustainable in the long term.
For inspiration, here are some of the most profitable blog niches in the food industry:
Healthy eating and nutrition. Post recipes promoting a healthy lifestyle, share nutritional insights, and provide helpful tips for balanced eating. You can also offer meal planning suggestions to help readers incorporate these choices into their diet.
Cuisine-specific. Dive deep into a specific cuisine, such as Italian, Mexican, or Japanese, and explore its flavors, techniques, and cultural aspects.
Plant-based food. Cater to the growing audience interested in reading vegan food blog posts, like meat-free recipes, plant-based restaurant reviews, and vegan lifestyle tips.
Local food reviews. Become a culinary explorer in your region, reviewing local restaurants, food markets, and hidden gems.
Baking and desserts. Share your passion for sugary delicacies, from delectable snack recipes to pastry artistry techniques.
As you contemplate the niche for your new food blog, consider what makes your perspective unique. Emphasize your stories, experiences, and culinary passions, as embracing your individuality can be a powerful way to connect with the audience.
2. Choose a Web Host and a Domain Name
Reliable web hosting for food bloggers and a catchy domain name are essential.
Given the specific needs of culinary content creators, getting the right web hosting for food bloggers is critical. It ensures their websites are reliable, fast, and capable of handling media like high-resolution cooking photos and videos.
For convenient blog creation, opt for our Hostinger’s blog website builder. Utilize the AI-powered tools and customizable templates to personalize the web design.
This solution also includes a web hosting plan, a drag-and-drop editor, and third-party integrations. Such features are useful for quickly launching and marketing your food blog. Plus, its built-in eCommerce tools in the Business plan and above are excellent if you decide to sell merchandise or recipe books online.
As a reliable web host, Hostinger guarantees a 99.9% uptime, top-notch security, excellent performance, and various customer support channels.
We also offer managed WordPress hosting solutions for users interested in starting a food blog with a content management system (CMS) instead. Plans include auto-updates, a vulnerability scanner, and WordPress acceleration using LiteSpeed Cache.
Meanwhile, a carefully chosen domain name serves as your blog’s unique online address. It is also your food blog’s online identity and the key to making a lasting impression.
Here are some tips for choosing a good domain as well as a blog name:
Reflect on your niche. Your domain name should tell readers what your blog is about, so using relevant keywords is a good strategy. If you specialize in Italian cuisine, some domain name examples include italiankitchen.com and pastapassion.com.
Keep it simple. Short domain names are more memorable and easier to type. An ideal domain name is between five and 10 characters.
Avoid special symbols. Hyphens and special characters can confuse users and make your domain name harder to remember. Stick to letters and, only if necessary, numbers.
Check for availability. Once you come up with a few ideas, check if the domain names are available. You can use domain registration websites or domain search tools to do this.
Think long-term. Choose a domain name that is evergreen so it’s still relevant even as your blog grows and evolves.
Secure social media handles. Check if the name is available as a social media handle on platforms like Instagram and Twitter to ensure you maintain consistent branding across various channels.
Hostinger aids in domain registration by offering a free domain name for clients with its hosting plans. Plus, we provide a domain name search tool, various extensions, and domain transfer assistance.
We also offer an AI-powered domain generator. This tool can inspire creative food blog domain name ideas relevant to your niche, such as gourmetitalianbites.com and mangiaritaliano.com.
By choosing our web hosting plans for your hosting and domain needs, you ease the process of creating, launching, and maintaining a food blogging site.
3. Design Your Blog
Designing a website that suits your niche is vital for attracting and keeping readers. While web design can be tricky, choosing the right blogging platform can help ease the technicalities.
With Hostinger Website Builder, designing a blog is straightforward. Here’s how to use our AI-powered website builder:
1. From hPanel, access our builder’s user-friendly interface and click on TRY AI WEBSITE BUILDER.
2. Type in your brand name, website type, and a short description of your food blog. Then, click Create a website.
3. Our AI-powered blogging platform will automatically generate a customized site for you in a few minutes.
4. Next, customize the website elements using our intuitive editor and write the blog content.
Alternatively, you can choose from dozens of our pre-made templates and adjust the sample pages to your preference. Start by filtering the category and selecting a food blog theme.
Once you choose a template, follow the onboarding checklist on our user-friendly editing interface to help with customization. Generally, here are the web elements to adjust:
1. Text. Click on the element and hit Edit text to rewrite the blog title, subtitle, and content.
2. Background. Select a section, then click Edit section to upload images or change the background color.
3. Logo. In the header section, click Edit header to upload your custom logo.
4. Layout. Click on the blog preview section, then select Edit blog list to adjust the display.
5. Social media channels. Scroll down to the footer and click on the social media section. Choose Edit social icons to start syncing your accounts.
If you want to start a WordPress blog, install a food blog theme and a recipe plugin to extend the site’s functionality.
The CMS has an official theme directory with hundreds of free food blog themes, while other marketplaces provide premium options for purchase. Some theme developers, like Astra, also offer food-specific templates.
Explore its official plugin directory to add specific features to your WordPress website. For a food blogger, WP Recipe Maker, Cooked, and Recipe Box are some of the best recipe plugins to consider.
In addition to a recipe plugin, install a contact form plugin like WPForms or Contact Form 7 to encourage engagement and boost your email marketing list. Meanwhile, Akismet is a great plugin choice for filtering spam comments.
4. Create High-Quality Content
Writing high-quality posts is the cornerstone of a successful food blog. For this, you need to provide the audience with something engaging, regardless of your blog post ideas.
When writing recipes for a food blog, do it clearly and concisely. Use step-by-step instructions and be mindful of your audience’s cooking skill levels. Include detailed ingredient measurements, cooking times, and special techniques or tips to make your own recipes stand out.
The same goes for when you write a food review blog post. This type of content involves sharing about your dining experience at a restaurant or with a specific dish.
To create a compelling review, use descriptive language when explaining the ambiance, service, and the food’s taste. Then, don’t forget to mention the restaurant’s name, location, and price range. Not only is this useful for readers, but it’s also good for your blog’s search engine optimization.
Many food bloggers also infuse their posts with personal stories based on the blog’s style and tone. For example, make your readers feel like they’re right there with you in the kitchen, sharing a friendly conversation.
Hostinger Website Builder offers one of the best AI content generators to help you craft blog posts in a few clicks. Here’s a guide to get started:
1. From the editing interface, navigate to Blog → ADD NEW POST.
2. In the pop-up window, choose the tone of voice, adjust the content length, and fill out the description field.
3. Click Create content to let the AI tool generate the blog post.
High-quality images are also essential if you want to be a food blogger. Crisp, well-composed photos make your cooking blog look enticing and encourage readers to try your recipes.
Be sure to research food photography for bloggers – natural light is key when it comes to food photography. Shoot your dishes near a window with diffused light to achieve a soft glow. Also, consider investing in quality photography equipment or hiring a professional photographer to ensure optimal results.